Every now and then, I’ll post easy projects that can be used to make useful items for around the new nest. Consider it part Lifehacker, part Martha Stewart!
I have two roommates, and we occasionally have to leave checks for one another to pay our share of utilities or rent. Three girls also means three people receiving mail, so letters tend to get left on the dining room table and forgotten or slipped under the bedroom door and trampled. I could’ve bought us all little baskets for our doors or a mail divider for the entryway, but instead I decided to go cheap.
Project materials:
1 package of wooden clothespins ($1 from a dollar store)
1 package of medium Command strips by 3M ($3 from most mass-market retailers)
1 roll of adhesive magnet strips ($4 from a craft store, such as Michael’s)
Acrylic craft paint and paint brushes, if desired
Coloring pencil or thin marker, if desired
You’ll also need scissors and isopropyl (rubbing) alcohol, which you should already have. (We’ll talk about must-have household supplies in later articles.)

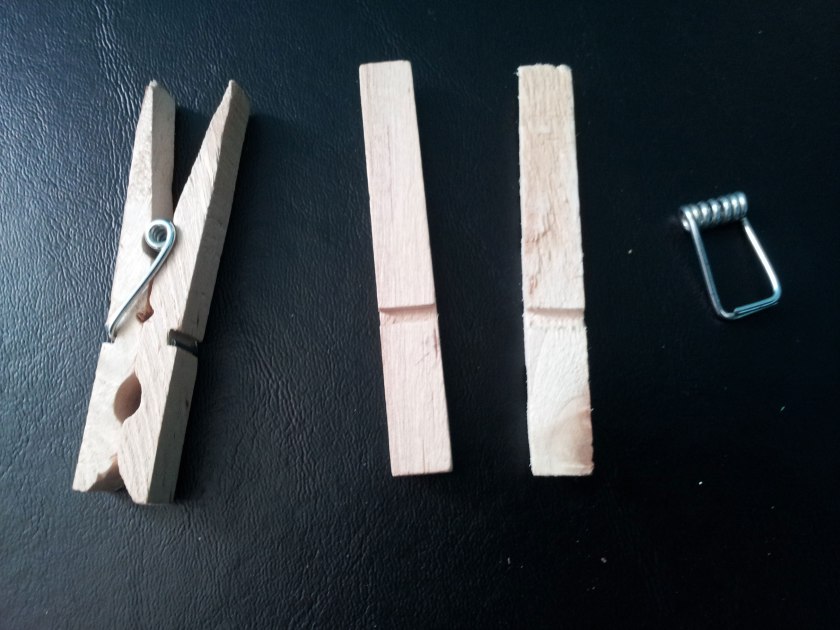
If you don’t want to paint your clips (and I can’t imagine why not, unless you bought a package of cheap plastic clothespins, in which case I want to smack you for wasting your money on cheap clips that break far too easily), you can skip straight to applying the Command strips. Otherwise, disassemble the clothespins you want to paint, and keep extra fully-assembled clothespins handy for the next step.

Using acrylic craft paint and a brush, sponge, or q-tip, grip one end of the clip piece in an assembled clothespin, and paint the front and back of the exposed parts of the piece. Let it dry, then unclip, clip the painted end, and finish painting the rest of the piece.

While the clothespin pieces are drying, clean an area on the door with tissue or swab soaked in rubbing alcohol. While the door dries, take out a single Command strip and cut it in half down its length.

Remove one side of the strip’s backing, and apply the strip directly to the cleaned door. Press and hold the strip for 15 seconds.

Reassemble the clothespin after it has dried for about half an hour. Use a thin brush, colored pencil, or thin-tipped marker to write on one side of the clothespin, if desired. Now, remove the other backing on the command strip, and press the clothespin into place, leaving part of the Command strip’s pull-tab exposed so that the clip can be more-easily taken down later (very important if you’re in rental housing).

Press the clip in place for about 30 seconds, then leave it for about an hour before you try clipping anything to it. Use it to hold mail, notes, or even random pieces of laundry your roommate left behind in the bathroom. (Please don’t hang underwear on the door… that’s disturbing.)

But wait… what about the magnetic strips? Ah, yes, cut those to just under the length of a clothespin, then cut in half lengthwise.
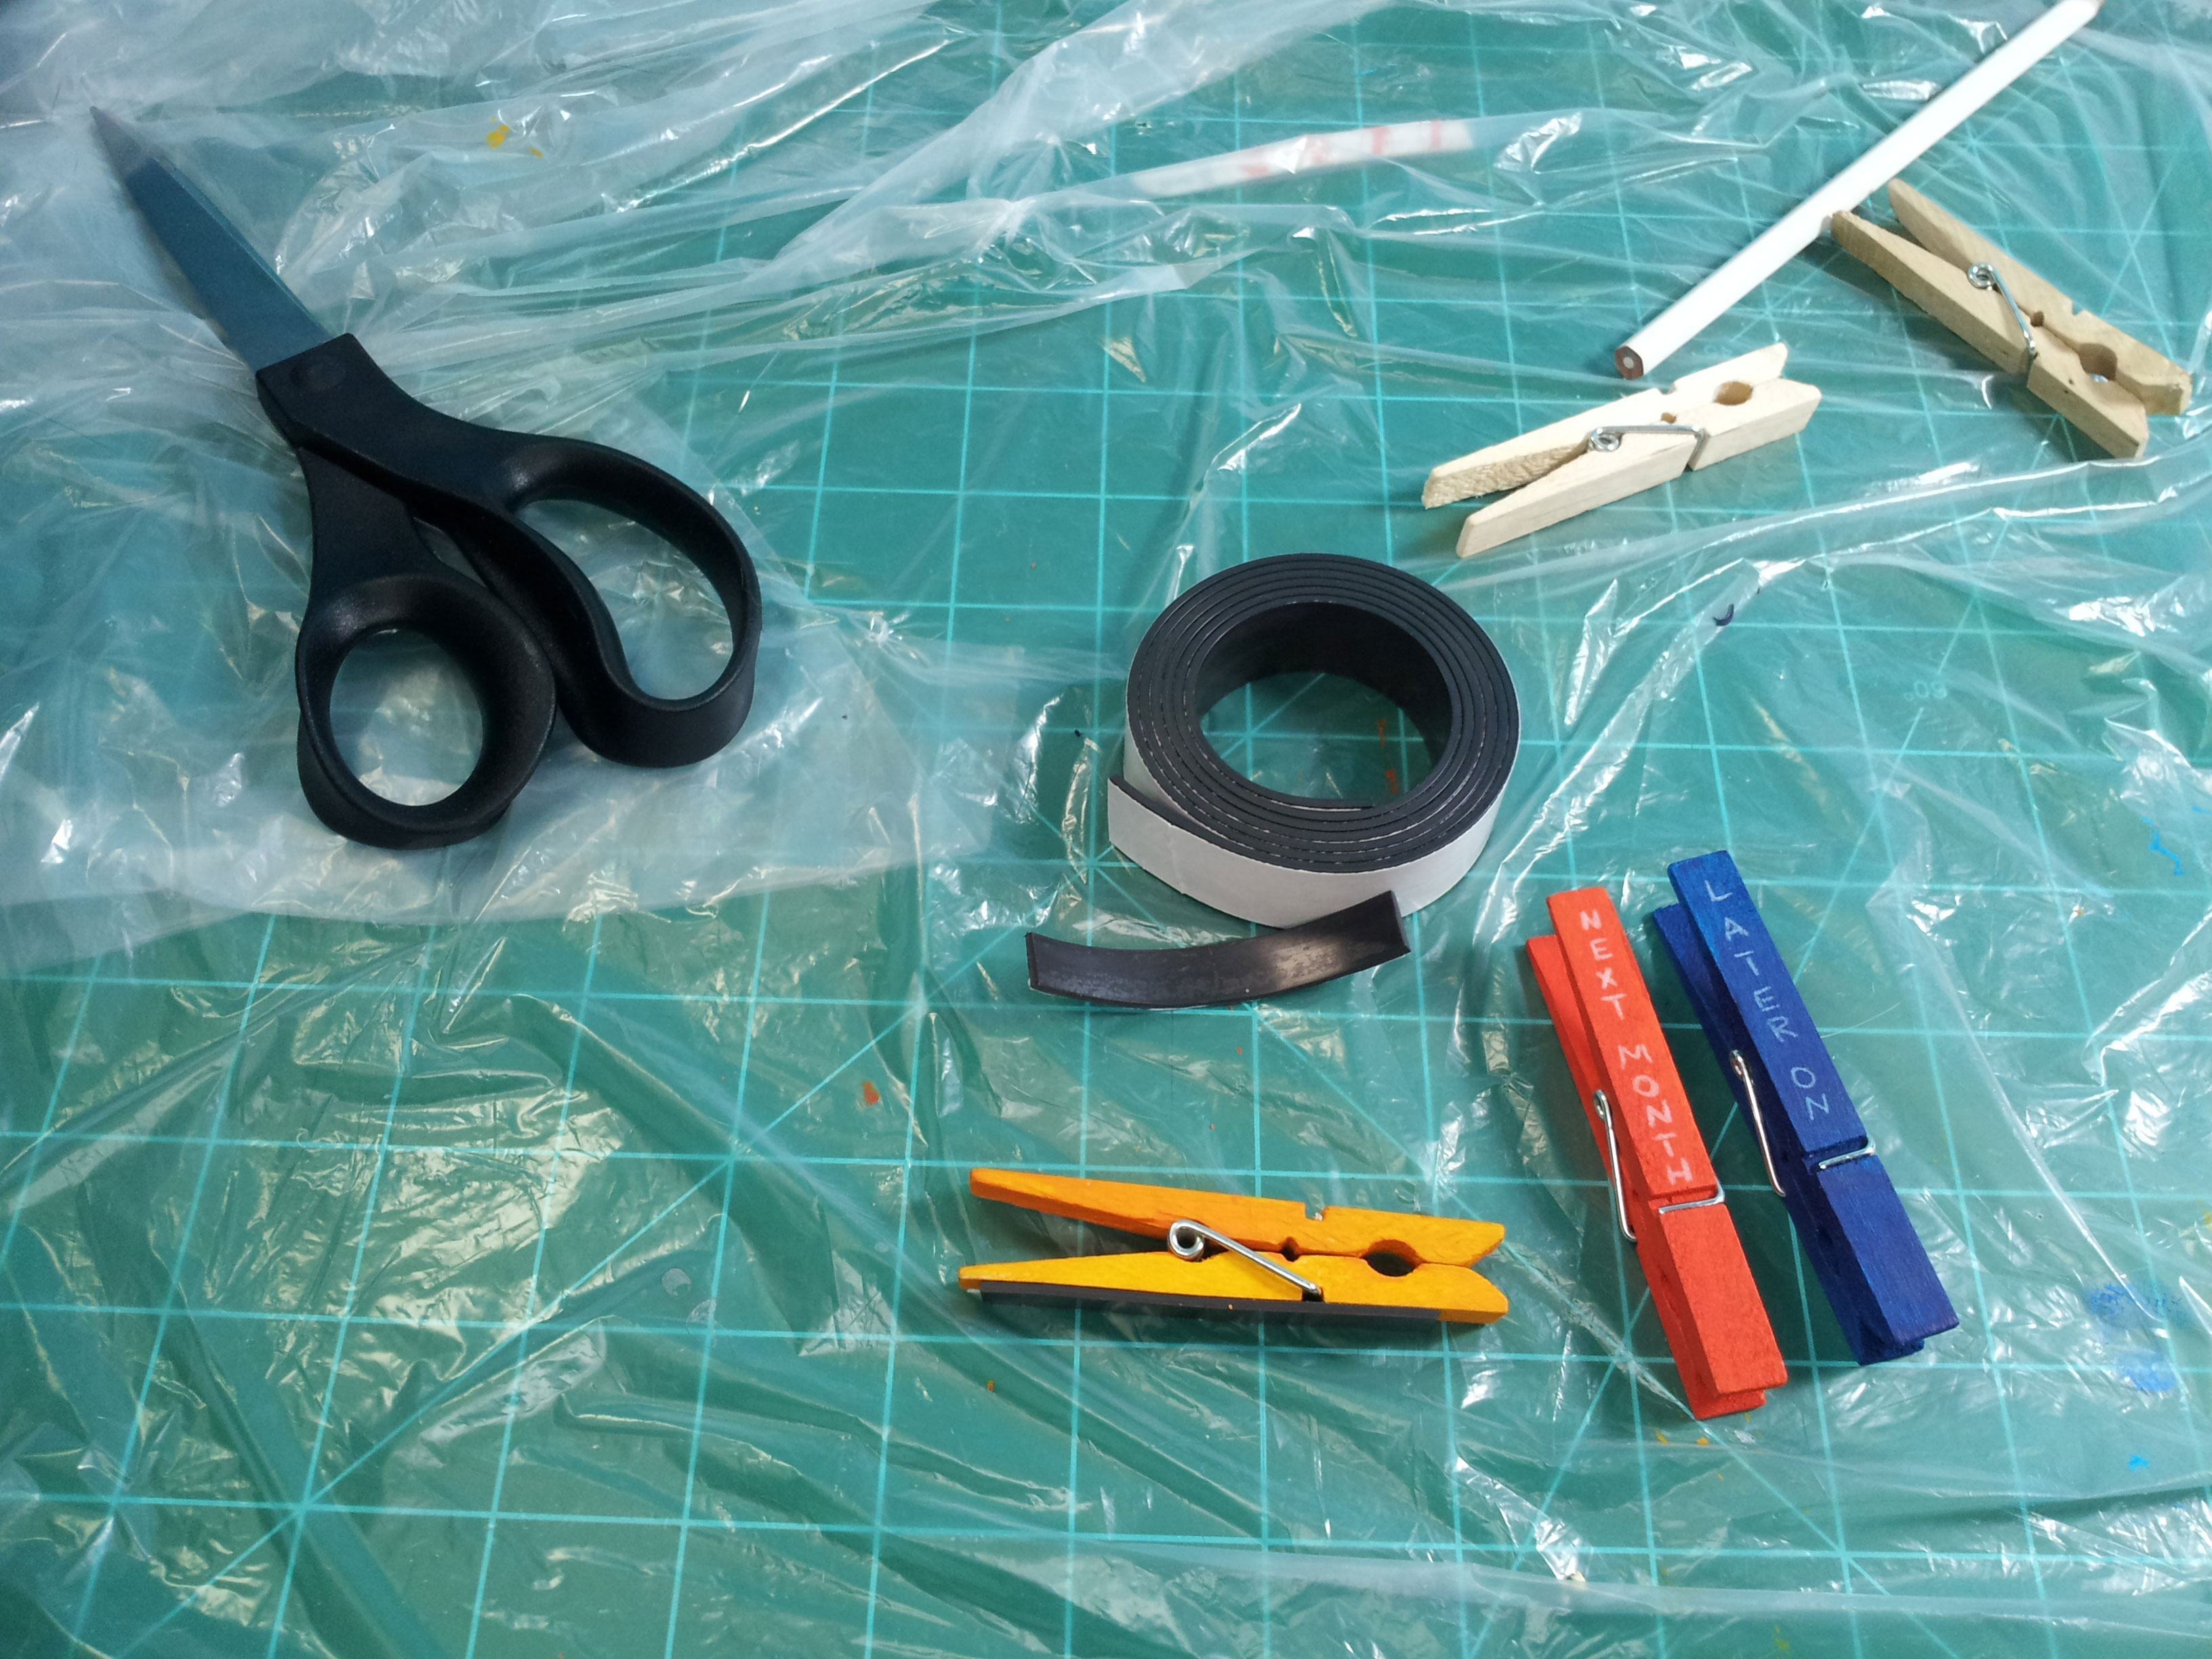
Apply a magnet strip to the back of a painted clothespin, and use it to hang coupons on the refrigerator! I used a white colored pencil to mark mine “this month”, “next month”, and “later on”, so I could sort my coupons by expiration date.

That’s it! Less than $10 worth of supplies and you’ve sorted out your mail, notes, and coupons. As for all those leftover clothespins, stick them in a drawer in the kitchen to use to close bread wrappers and potato chip bags.
What’s your favorite use for the oh-so-versatile clothespin?

I’m more likely to go the half-assed route and tint clothespins with highlighters & write on them with a Sharpie, but I have no wooden clothespins. So I use paperclips & binder clips as bag clips.
I’ve used binder clips for bag clips quite recently, actually, when I was too lazy to go downstairs and get a clothespin from the kitchen 😀